
Shipping Information
- by Admin 1
-
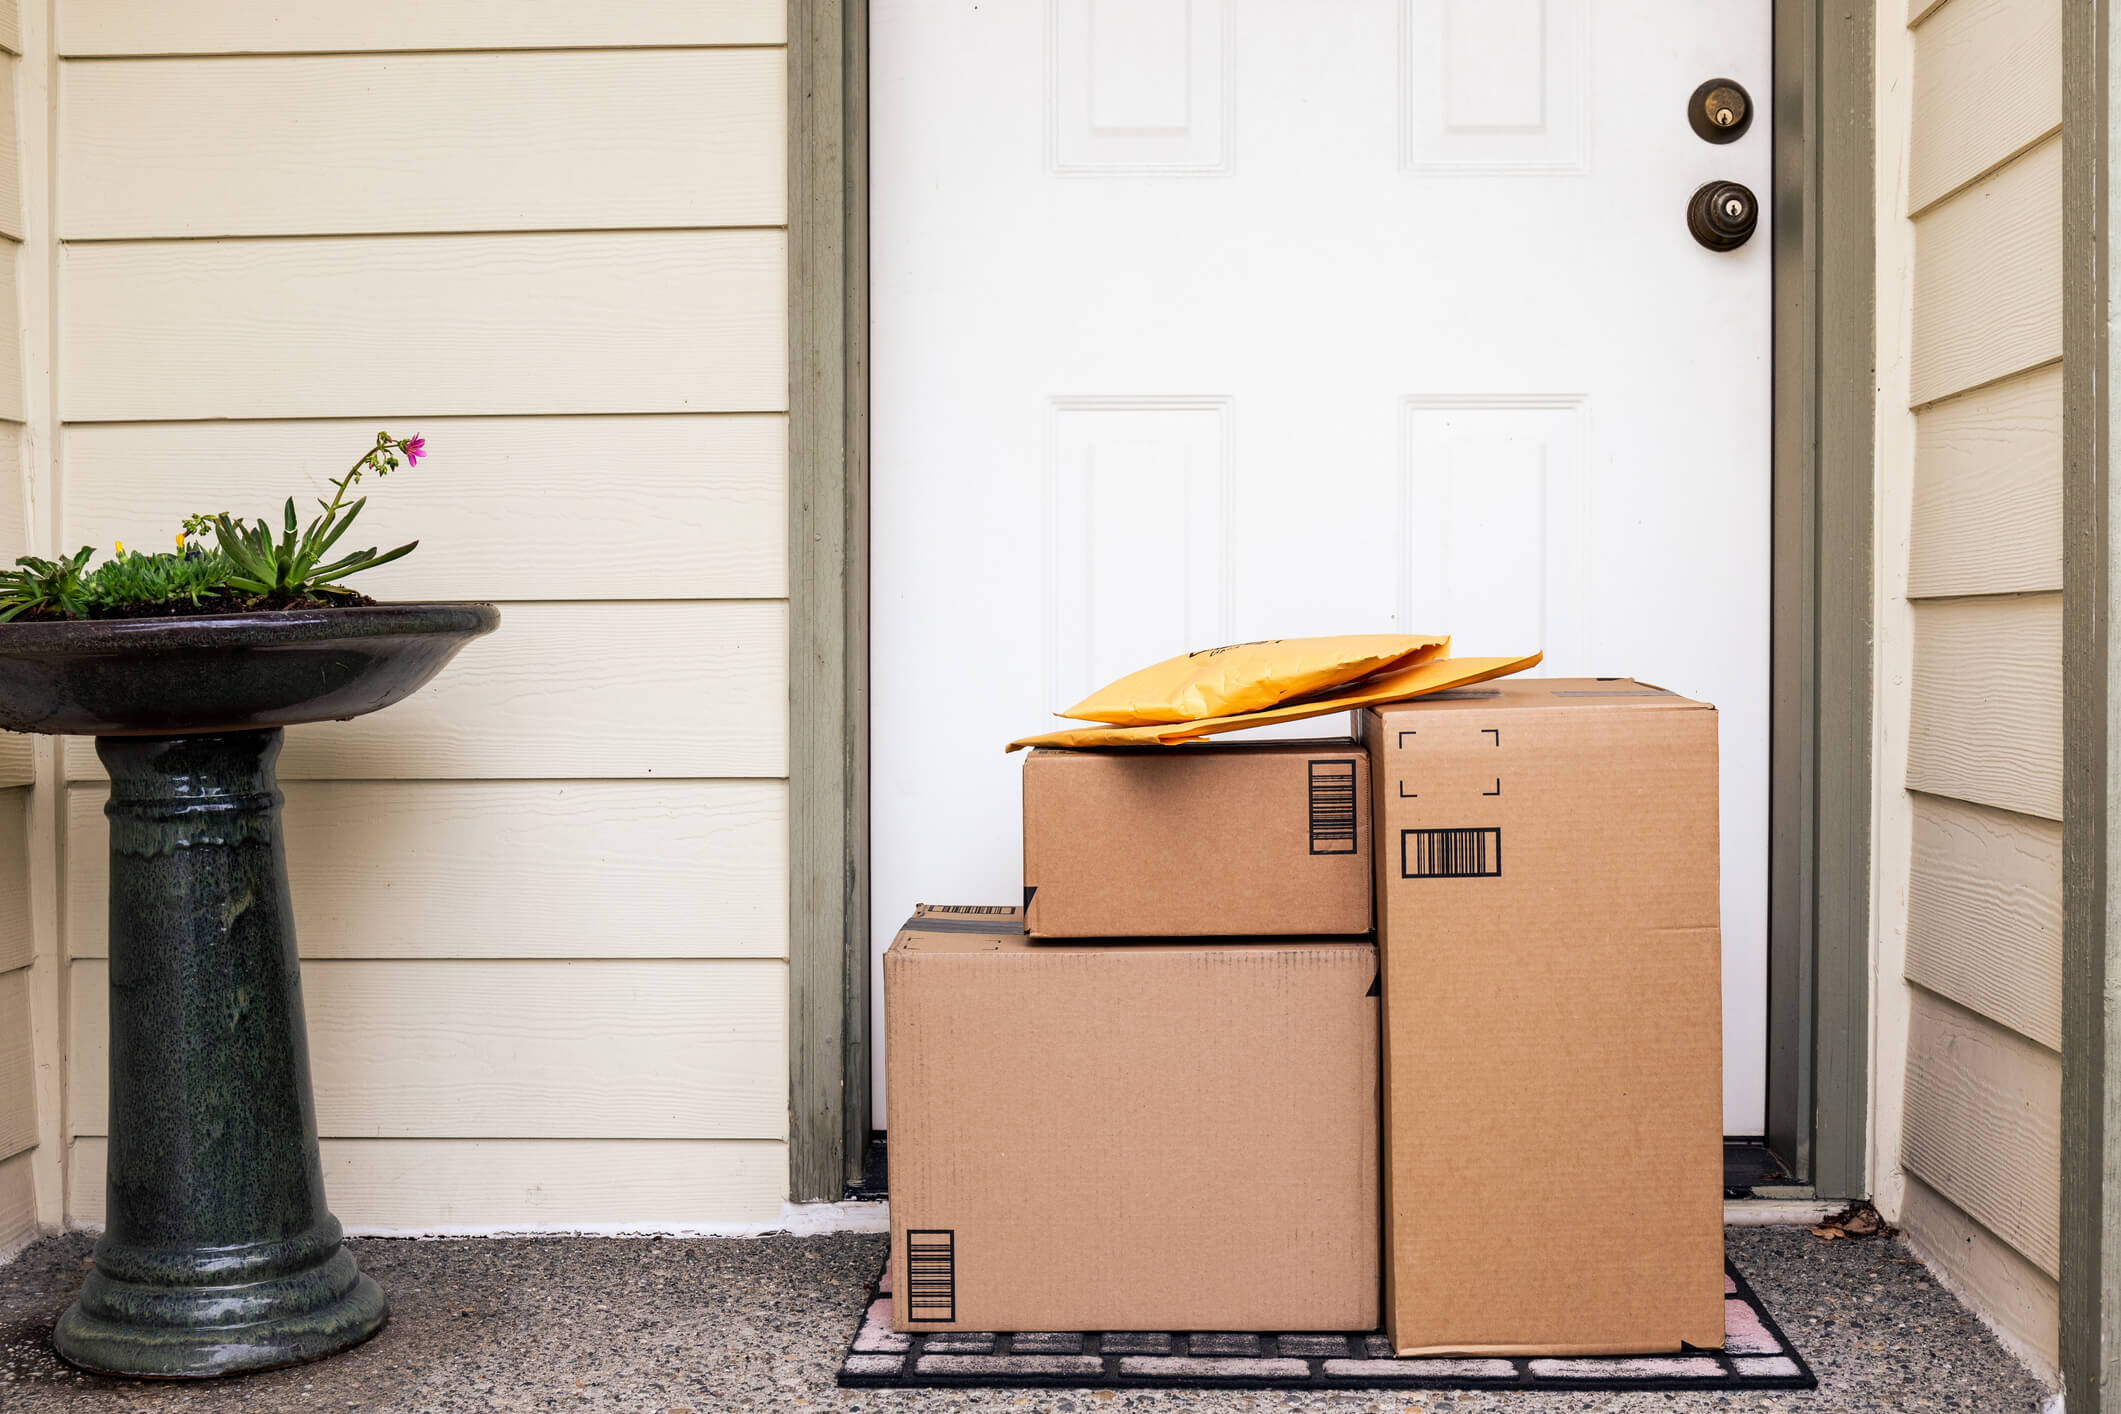
Delivery Specifications
Do NOT use a PO Box as the ship-to address. Orders must use a physical delivery address for the purchase. Orders will be cancelled and refunded if a physical address is not provided for delivery.
Most of our products ship via UPS or FedEx Ground. Our shipping prices are only applicable to addresses located within the lower 48 states. If you live outside the lower 48, please contact us before placing an order to discuss shipping options and pricing.
Production and Handling Times
- Production time will vary from 5-7 days on most items.
- Due to order volume during the Holiday shopping season, we may be forced to stretch this time frame out.
- We will have this information displayed across the top of the homepage if it changes from normal production times.
- Large furniture pieces may require truck freight shipment; please get in touch with us to discuss freight shipping options.
- Freight shippers will deliver the item curbside with a lift gate. They will not unpack or bring these items inside your home.
Frequently Asked Questions
Can I ship my order to a PO box?
No. Orders must use a physical delivery address. Orders shipped to a PO box will be canceled and refunded.
How long does production take before my order ships?
Most items take 5 to 7 days to produce before shipping. This can be longer during the holiday shopping season, and any changes to normal production times will be posted at the top of the homepage.
Do you ship outside the lower 48 states?
Our standard shipping prices apply only within the lower 48 states. If you live outside this area, contact us before placing your order to discuss shipping options and pricing.
How are large furniture pieces shipped?
Large furniture pieces may ship via truck freight. Freight shippers deliver curbside using a lift gate, but they will not unpack the item or carry it inside your home. Contact us to discuss freight shipping options for larger pieces.
What carriers do you use?
Most products ship via UPS or FedEx Ground.
Who do I contact with shipping questions?
Fill out our contact form or call (417) 746-0355.
CONTACT US WITH YOUR QUESTIONS
We value helping our customers whenever they need assistance with our products. Please feel free to reach out to us by filling out our contact form or by calling (417) 746-0355.
